This instructions are written based on this page: https://github.com/microsoft/vscode-cmake-tools/blob/main/docs/how-to.md#build-a-project
On Windows, you might need to create a CMake presets file. You have the instruction here: https://github.com/microsoft/vscode-cmake-tools/blob/main/docs/cmake-presets.md#configure-and-build-with-cmake-presets
First open the folder containing your code which include at the root the CMakeLists.txt. You will need to access the command palette of VS Code. To access it use the short cut ctrl+shift+p, then a drop down menu will appear and space to type a command.
Add or Select a preset (Optional)
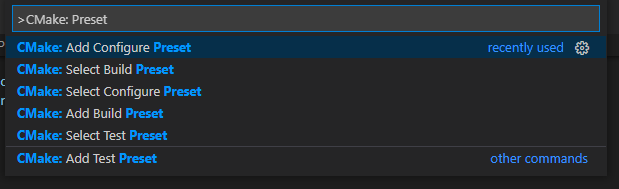
To add or select a preset you can type in the command palette: CMake: Preset.
Configure the project
To configure a project, type in the command palette: CMake: Configure.
You should see a bunch of text running on the bottom part of the screen. If no errors is thrown, the project can be built.
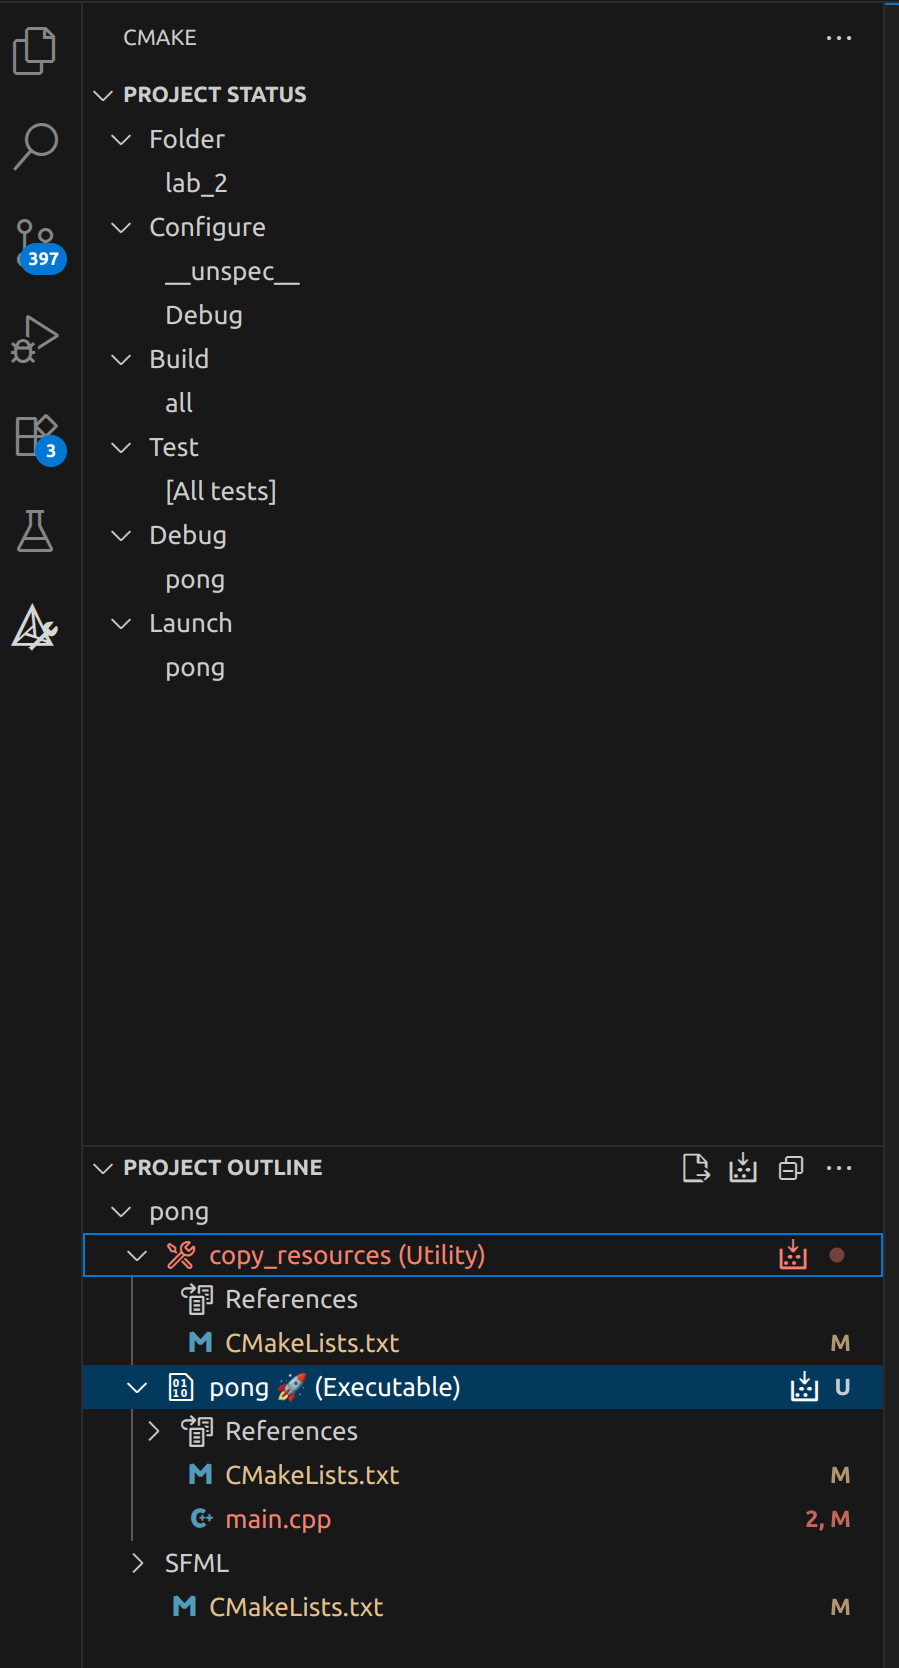
Additionally, once your project is configure, you should have an additional section on the left bar of VS Code. This will give you a view of your project through the CMake “lens”.
Build the project
To build the project, type in the command palette: CMake: Build
Like for the configuration, you will have a terminal on the bottom part of the screen with the build info.
Run the project
You can run your project either with or without debug:
- With Debug:
CMake: Debug - Without Debug:
CMake: Run Without Debugging