This tutorial covers setting up the Android emulator on your host machine and creating .NET MAUI
projects inside the containerised development environment.
Prerequisites
Before starting this tutorial, complete the Development Environment Setup
tutorial to set up your Docker-based development container with .NET SDK, MAUI workloads, and
Android SDK tools.
1. Set Up Android SDK on Host (for Emulator)
The Android emulator runs on your host machine for better performance and GPU acceleration.
You need to install the Android SDK tools locally to manage the emulator.
Create environment variables
Environment variables tell the Android tools where to find their components.
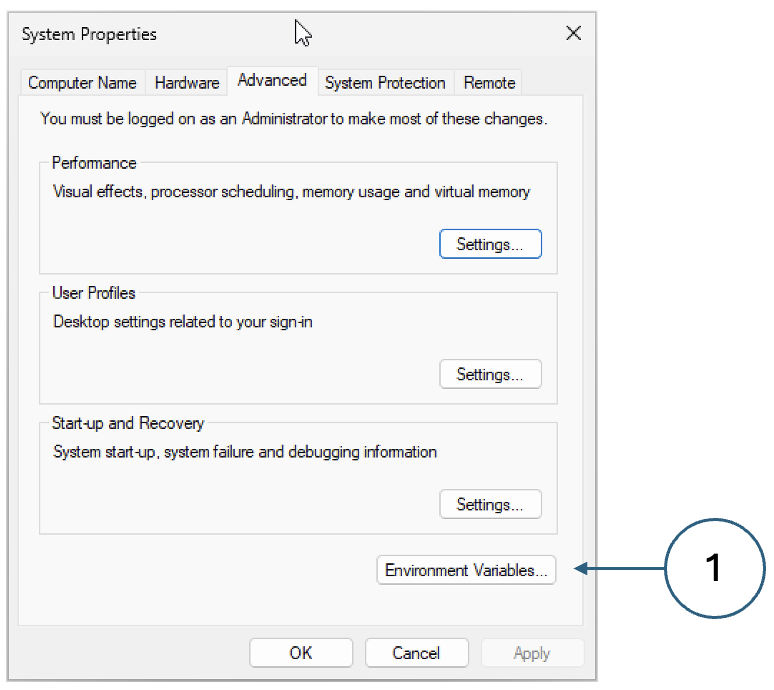
In the Start menu panel, start typing Environment variables and choose the option to edit them when it
appears. You will be taken to the system control panel as shown below where you should click the
Environment Variables button.
Fig. 1. Creating environment variables on Windows
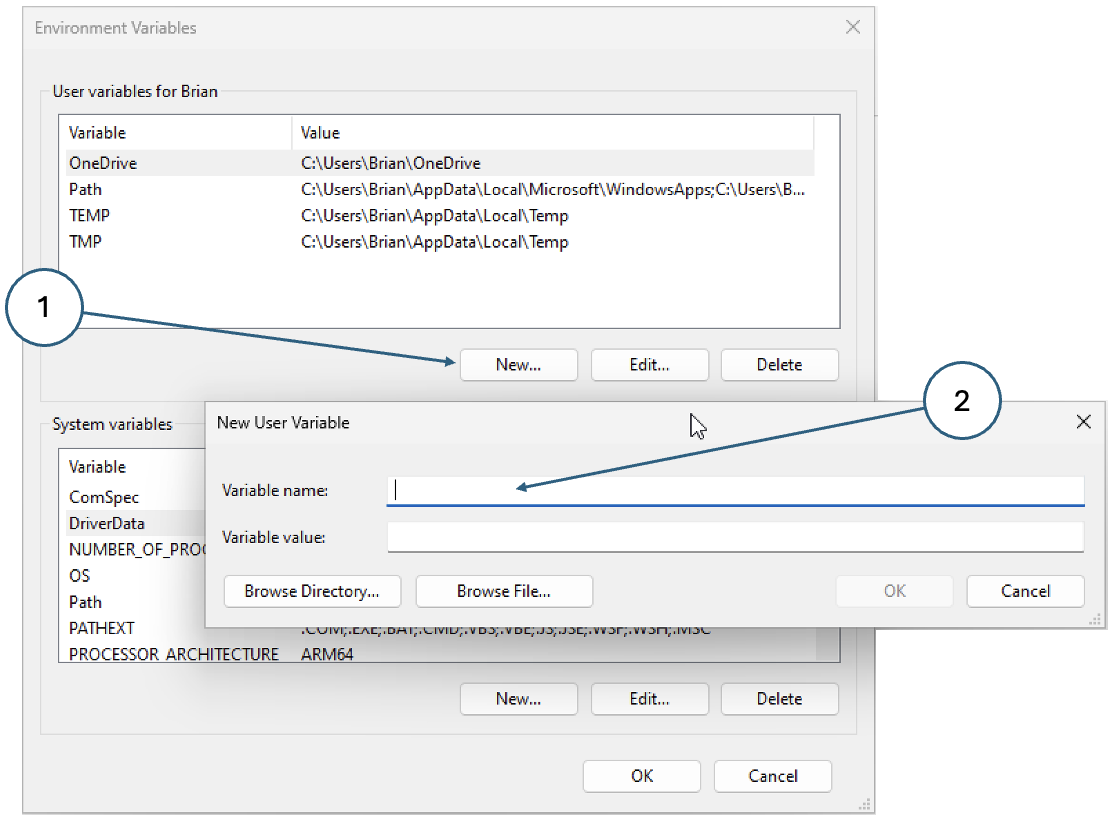
In the next dialog, there are two panels. Click New… in the top panel for a new user variable and
fill in the details.
Fig. 2. New variable
To make the Android SDK command-line tools available from any directory, you also need to update the
PATH environment variable. Specifically, you need to add the directory
%ANDROID_HOME%\cmdline-tools\11.0\bin to the PATH - follow the steps indicated in the image below.
Fig. 3. Updating the PATH on Windows
The changes will not be visible in any CMD or PowerShell windows that are currently open.
You will need to close and re-open them to pick up the new variables.
The following variables are required for the Android emulator.
Variable
Description
Value
JAVA_HOME
Stores the root directory of a Java SDK
/Users/USERNAME/MAUI/java
ANDROID_HOME
Stores the root of an Android SDK
/Users/USERNAME/MAUI/android
ANDROID_SDK_HOME
Stores the directory that contains user-specific settings such as ADVs
/Users/USERNAME/.android
Replace USERNAME with your Mac username.
Create the directories
1
mkdir-p ~/MAUI/android ~/MAUI/java
Create the variables
Edit the .zshrc file in your home directory and add the following lines at the end:
mkdir %ANDROID_HOME%\cmdline-tools\11.0
:: Copy contents of extracted cmdline-tools folder to %ANDROID_HOME%\cmdline-tools\11.0
1
2
mkdir-p$ANDROID_HOME/cmdline-tools/11.0
# Copy contents of extracted cmdline-tools folder to $ANDROID_HOME/cmdline-tools/11.0
Verify the installation by running:
1
sdkmanager --version
2. Install Android Emulator
The emulator is a separate component that hosts Android virtual devices.
sdkmanager --install emulator
Warning
If the command above fails with the message Failed to find package ‘emulator’, you can
install an emulator manually. Download the latest version,
unzip it and copy the emulator directory into the ANDROID_HOME directory.
Copy the file package.xml from the setup directory in your cloned repo into the
emulator directory. Edit the last line of the file so that the revision number
corresponds to the version of the emulator that you downloaded.
3. Install AVD Image
The emulator needs a system image to run. Choose the appropriate image for your platform:
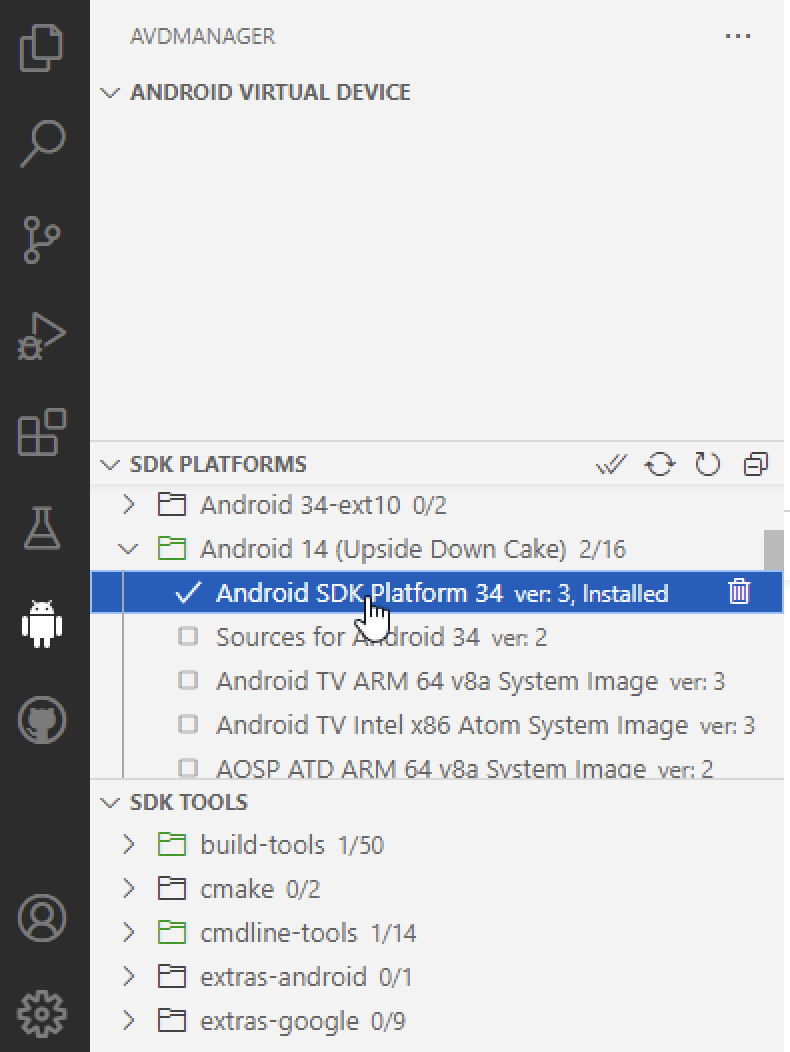
The AVD Manager extension in VSCode allows you to create and manage Android Virtual Devices.
Activate the AVD Manager panel by clicking the Android icon in the left-hand menu.
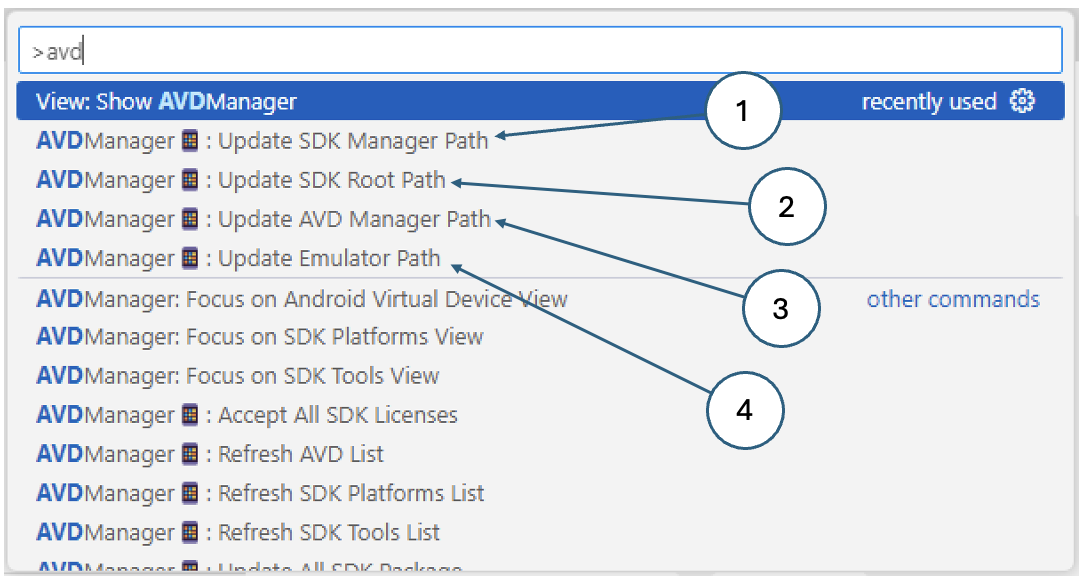
You may see prompts to configure the required paths. If not, open the VSCode command palette
(Ctrl+Shift+P on Windows or Cmd+Shift+P on Mac) and type AVD to find the settings.
Click the refresh icon in the Android Virtual Device panel to see the newly-created AVD.
Start it by clicking the Run icon next to its name.
6. Create a New MAUI Project (in Container)
With the development container running, create a new .NET MAUI project.
Open the command palette in VSCode (Ctrl+Shift+P in Windows or Cmd+Shift+P on Mac)
and select the .NET: New Project... option. Enter the values shown below:
Prompt
Response
Project type
.NET MAUI App Android, iOS, Mac Catalyst, macOS, MAUI, Tizen, Windows
Project root directory
Create a folder in /workspace called Notes
Project name
Notes
Options confirmation
Press ENTER to confirm your choices
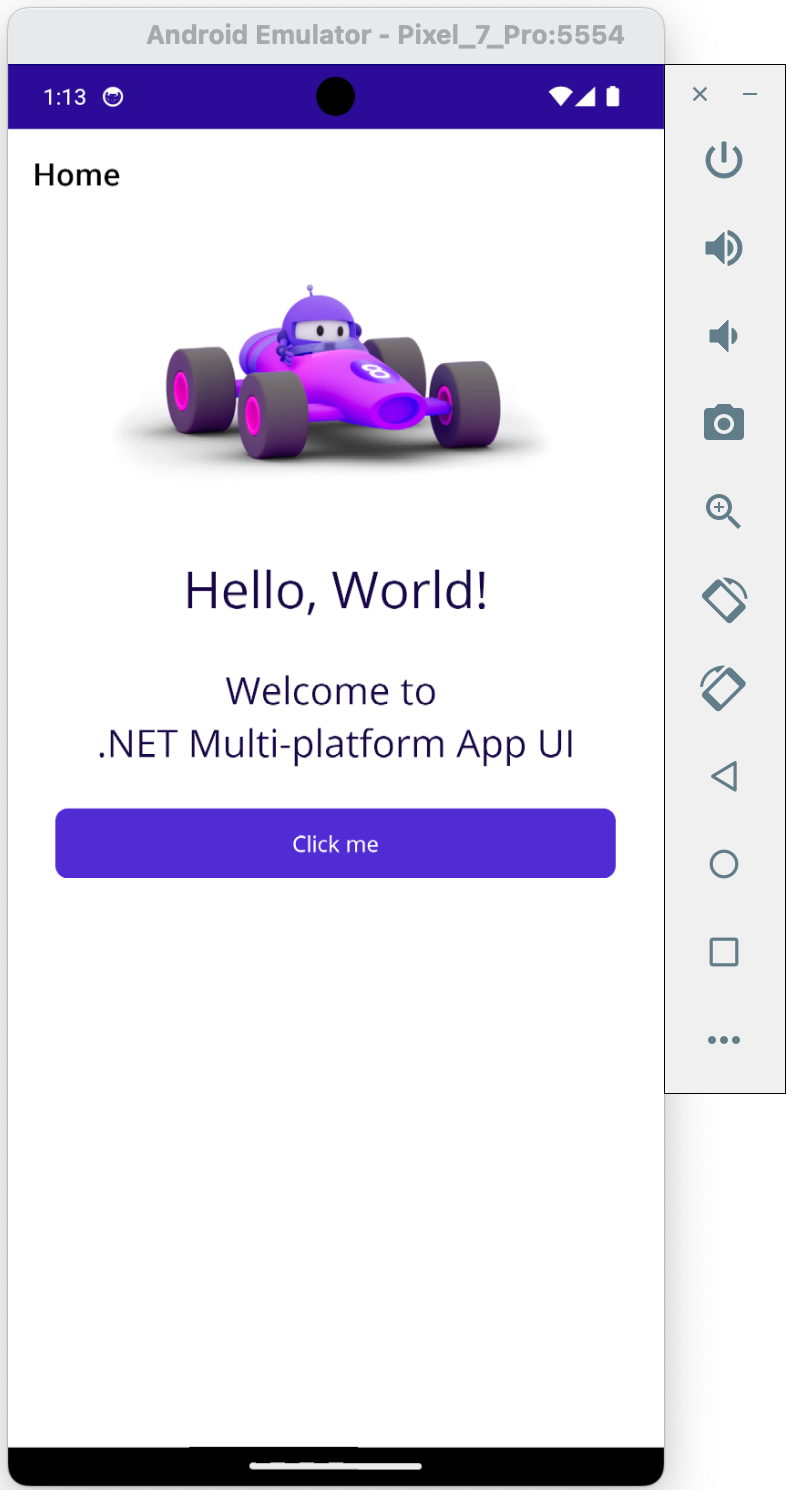
VSCode will generate a complete default application for you.
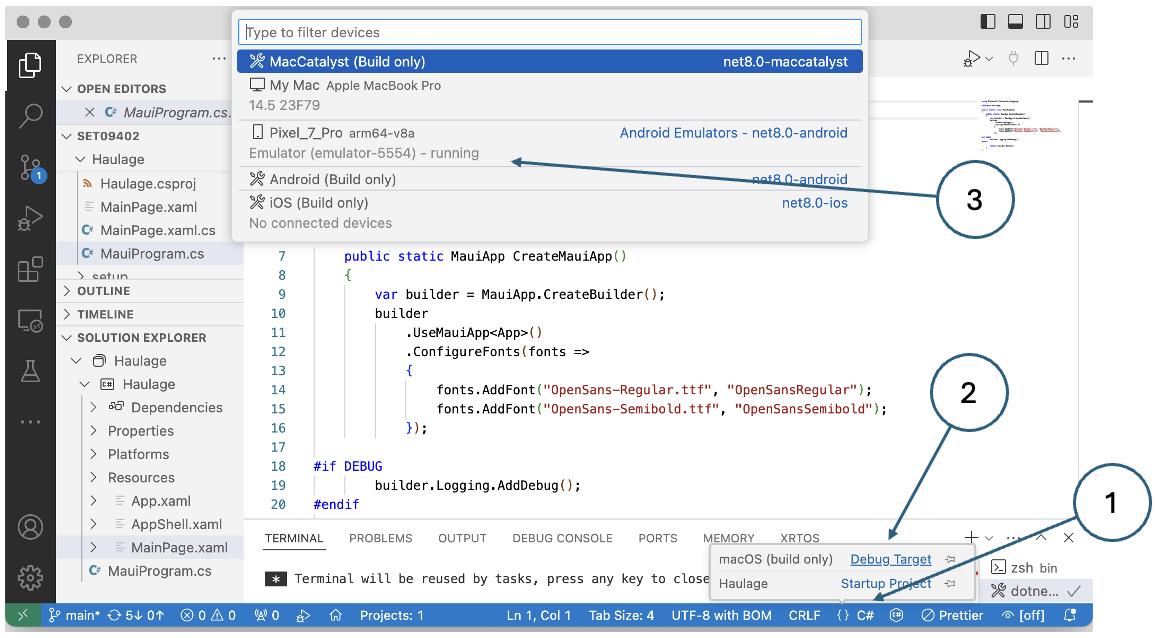
7. Build the Project (in Container)
Open a terminal inside the container and build the project:
1
2
cd /workspace/Notes
dotnet build -f net9.0-android
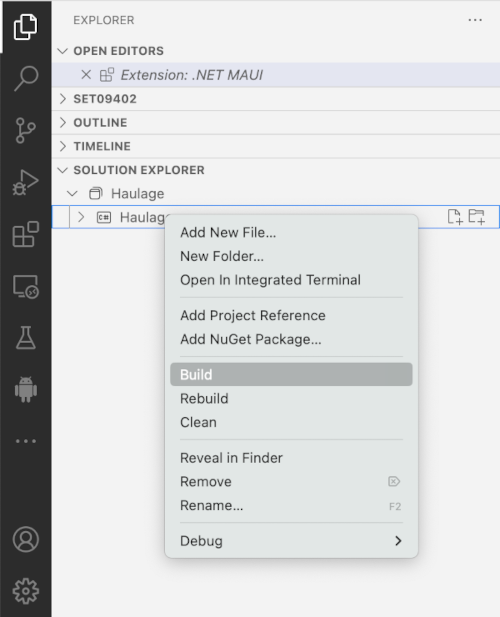
Alternatively, right-click the project name in the Solution Explorer and select Build.
Fig. 6. Building the project
If the build succeeds, you’re ready to connect to the emulator.
8. Connect Container to Host Emulator via ADB
To deploy apps from the container to the emulator running on your host, you need to set up
ADB (Android Debug Bridge) networking.
Start ADB server on host (one-time per session)
On your host machine (outside the container), open a terminal and run: